Did you know Office programs have their own internal Accessibility Checker? In this tutorial, you’ll see how to add the Accessibility Checker to your Quick Access Toolbar so it’s always visible. This helps you keep your documents more accessible since you can check them frequently for issues.
The Quick Access Toolbar instructions may differ based on which version of Office you have installed. So, we’ll provide multiple sets of instructions to cover multiple versions.
Which version of Office do you have installed?
Office 2019
Example End Result:

The left-most icon shown is the Accessibility Checker tool.
Office 2019 – Adding the Accessibility Checker to your Quick Access Toolbar:
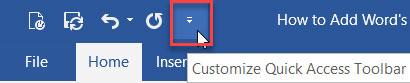
- Click the down arrow at the top-left of any Office 2019 program to customize the Quick Access Toolbar.
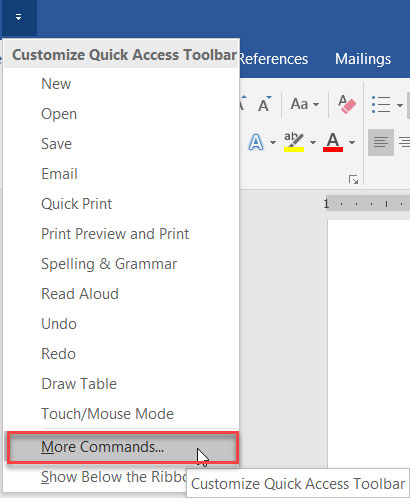
- Select “More Commands…” near the bottom of the resulting drop-down menu.
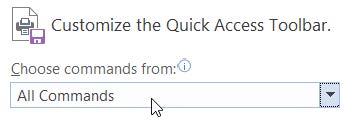
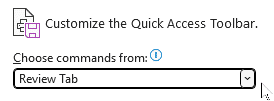
- In the Options dialog window, change the “Choose commands from:” drop-down menu selection from “Popular Commands” to “All Commands” (or “Review Tab”).
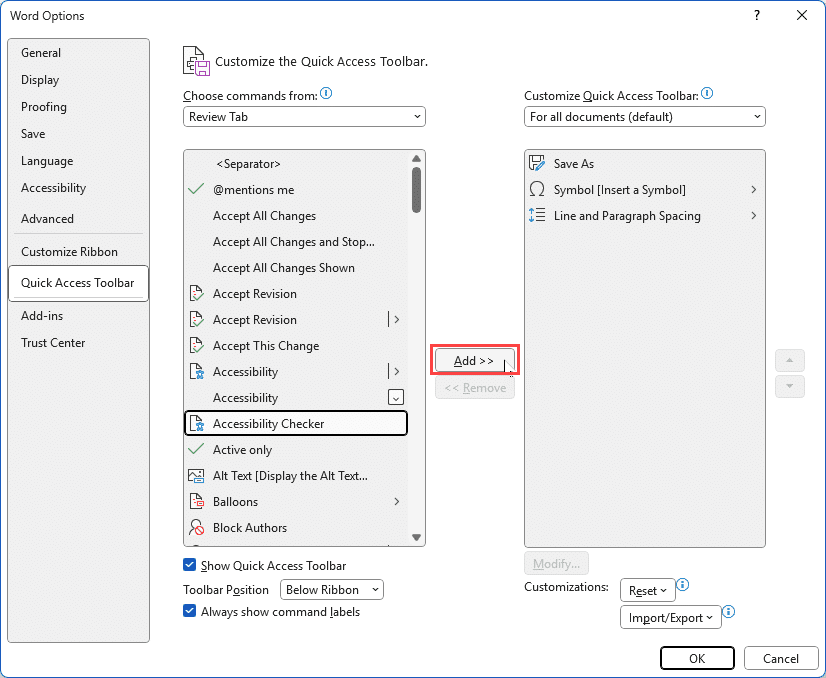
- In the alphabetical list on the left, find Accessibility Checker, select it, and click the “Add >>” button. This adds the Accessibility Checker command to your current list shown on the right. (Your list may appear different.)
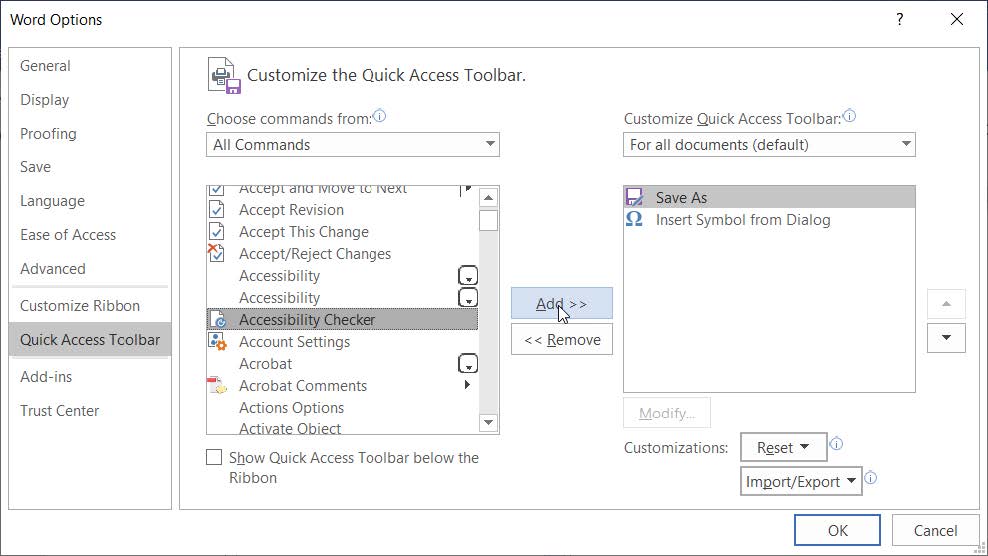
- Order your toolbar list using the up and down arrow buttons on the right. (Top-to-bottom equals left-to-right, respectively, in your Quick Access Toolbar.)
- Click the OK button to save your changes.


Now, you will always see the Accessibility Checker icon at the top-left, no matter where you go in the ribbon. This is how Microsoft Word’s Quick Access Toolbar would appear after the update.
Office/Microsoft 365
Example End Results:
Note: Icons/commands displayed in your Quick Access Toolbar may be different from those shown in the examples.
Above the ribbon:

The Check Accessibility icon button is on the left in the Quick Access Toolbar (just after Word’s logo).
Below the ribbon:
![]()
The Check Accessibility command and icon appear at the left in the Quick Access Toolbar.
Office/Microsoft 365 – Adding the Accessibility Checker to your Quick Access Toolbar:
- Click the down arrow to the right of the Quick Access Toolbar. (The button’s tooltip says, “Customize Quick Access Toolbar” upon hover.)

- Select “More Commands…” near the bottom of the drop-down menu.

- In the Options window, change the “Choose commands from:” drop-down menu selection from “Popular Commands” to “Review Tab.”
- In the alphabetical list on the left, find Accessibility Checker, select it, and click the “Add >>” button. This adds the Accessibility Checker command to your current list shown on the right. (Your list may appear different.)
- Order your toolbar list using the up and down arrow buttons on the right. (Top-to-bottom equals left-to-right respectively in your Quick Access Toolbar.)

- Click the OK button to save your changes.


Now, you will always see the Accessibility Checker icon at the top-left of Office, no matter where you are in the ribbon. This is how our toolbar appears after the update; yours may appear different.
Microsoft Support Resources
- Customize the Quick Access Toolbar
- Use Keyboard to Customize the Quick Access Toolbar
- Improve Accessibility with the Accessibility Checker

Leave a Reply